


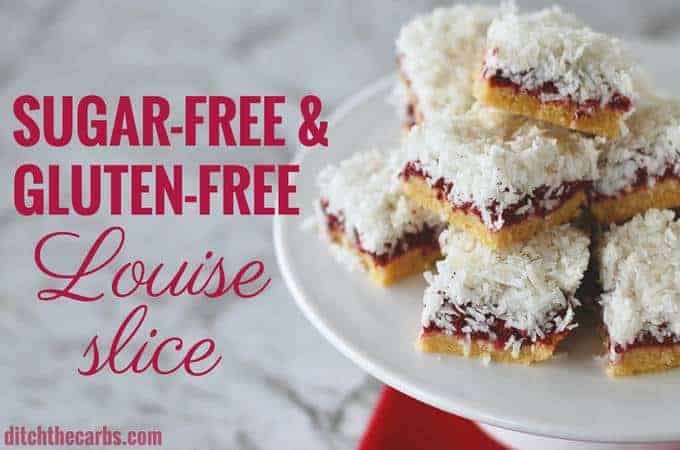
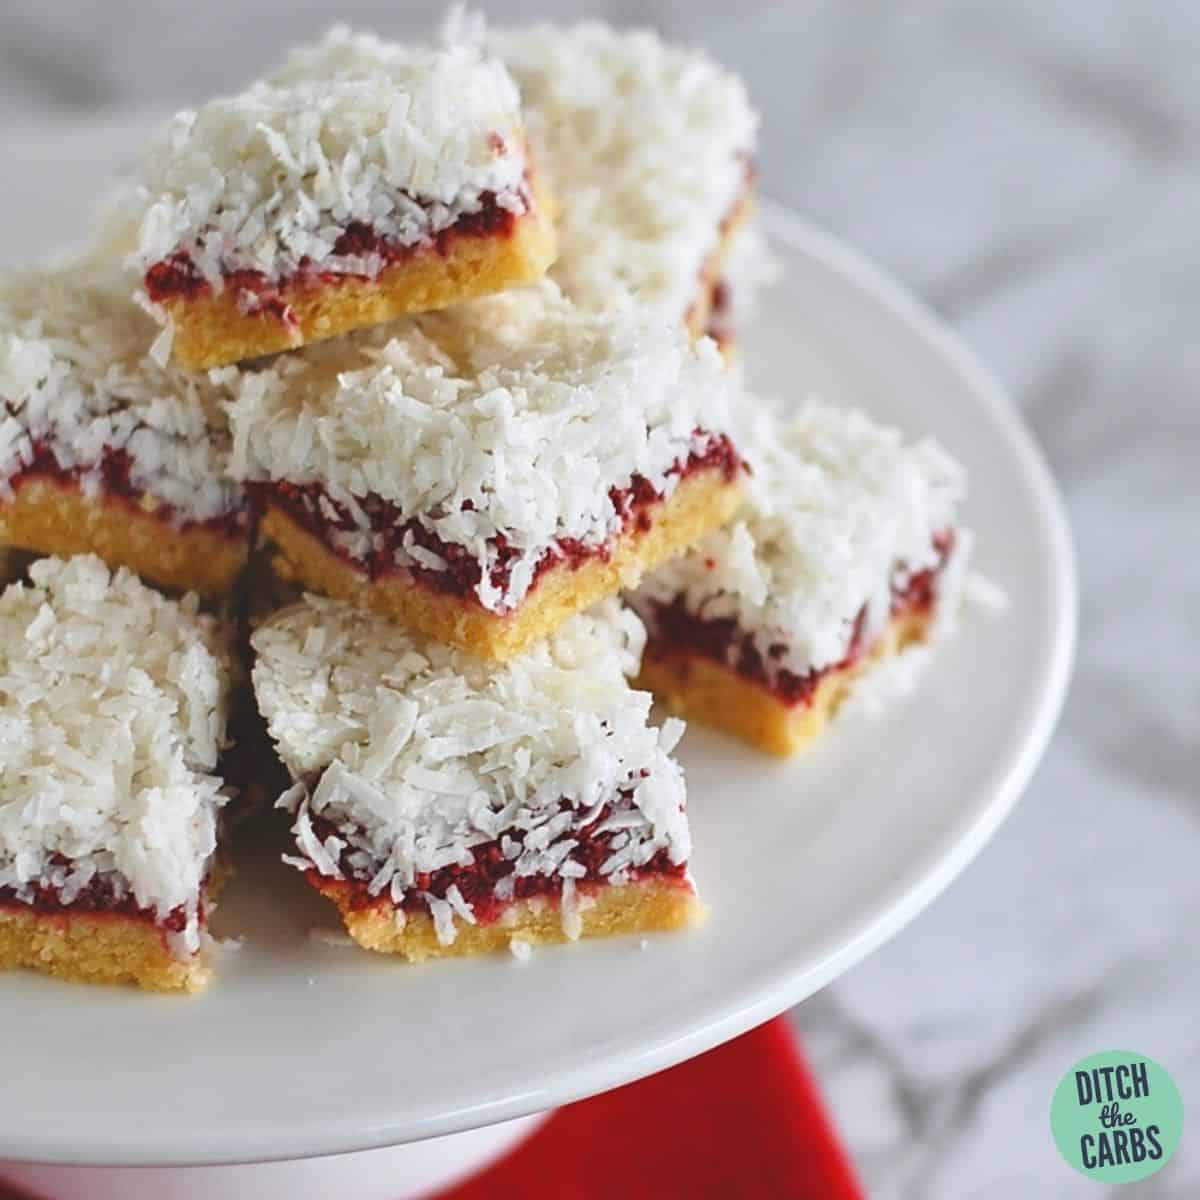
Here’s a healthy version of a timeless cake from New Zealand – Sugar-Free Gluten-Free Louise Slice!
It’s a sweet shortbread crust, covered in sugar-free berry jam/jelly then covered in a sweet coconut baked layer.
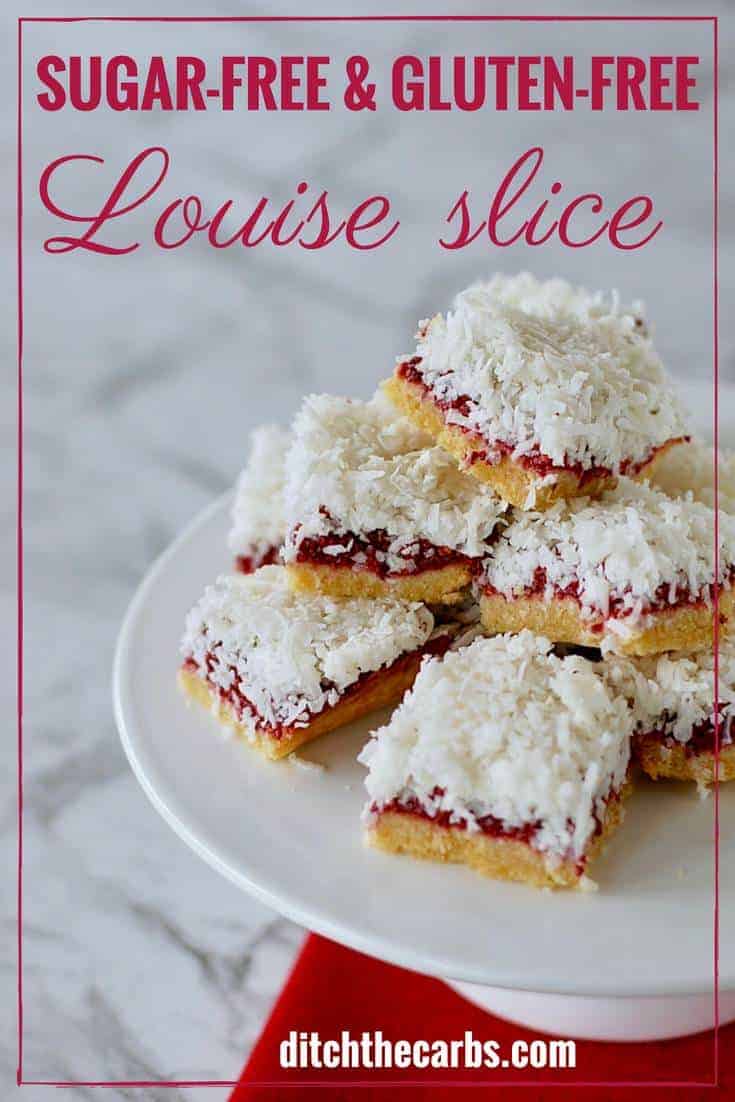
What is a Louise slice (Louise cakes)?
Louise cakes were rumoured to have been named after the daughter of Queen Victoria in the 1800s – Princess Louise of England. Others think it may have been named after Princess Louise’s wedding cake.
Brought to New Zealand by British settlers, the recipe has been used throughout the centuries and is still being made in today’s kitchens – like mine!
Ready to lose weight and get healthy for life without dieting, drugs or making yourself miserable?

Our free on demand video training will help you understand why it’s been so hard and what do to about it.
What are the 3 layers in a Louise slice?
A Louise slice is typically made with a thin base layer of cake or biscuit crumbs topped with raspberry or plum jam, coconut meringue; then baked in a rectangular pan in the oven and cut into squares (hence why it’s called a “slice” rather than cake).
But in reality, families across New Zealand will have made their own special recipe for years, and all these different versions in the long span of time make the cake slices all the more special.
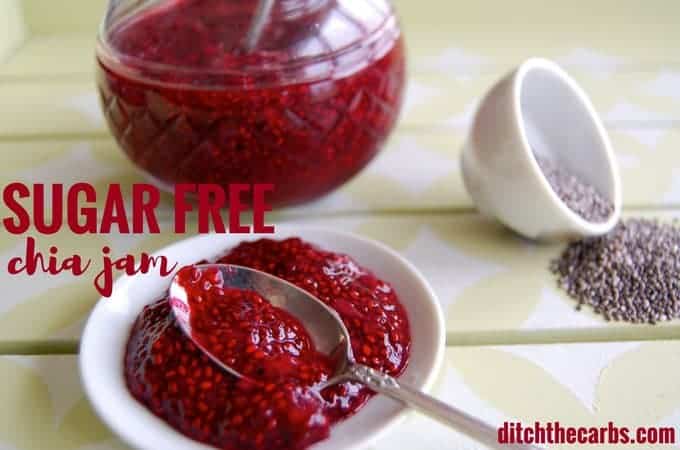
Recipe: Sugar-free chia jam
You can enjoy this sugar-free gluten-free Louise slice for any occasion like anniversaries and parties – and you can even pack a square or two in your lunchboxes for school and work!
And of course, Louise slice is always to be found at a school bake sale – so bring a healthy sugar-free gluten-free Louise slice instead.
Making a sugar-free gluten-free Louise slice – or of any dish, for that matter – was far from the imaginations of its originators, but I bet that they would enjoy this healthier version nonetheless.
Grain free vs gluten-free?
As well as being sugar-free, this delicious Louise slice recipe is also gluten-free! If you are new here you may wish to read Gluten free vs Grain Free.
What is gluten? Gluten is a type of protein that can be found in many grains and flour which is avoided when on a low-carb diet or keto diet.
Although gluten aids in maintaining the elasticity of the food it’s in and makes them chewier, it is worth giving it up entirely due to the effect gluten has on bloating, stomach pain, and your ability to absorb some nutrients.
Giving up on grains (and therefore gluten) greatly improves your digestive health and helps with healthy weight loss and appetite control, for starters.
And because grains (and gluten) can be found in so many ultra-processed and unhealthy junk food, you’ll be sure to eventually eliminate these nasty products from your kitchens when living low-carb.
Gluten-Free Pastry Base
- 150 g almond meal/flour
- 50 g butter melted
- 2 tbsp granulated sweetener, of choice or more to your taste
- 1 tsp vanilla extract
- 1 eggs – medium medium
Sugar-Free Chia Jam
- 125 g berries fresh or frozen
- 5 tbsp chia seeds
- 2 tbsp granulated sweetener of choice or more to your taste
- 80 ml water
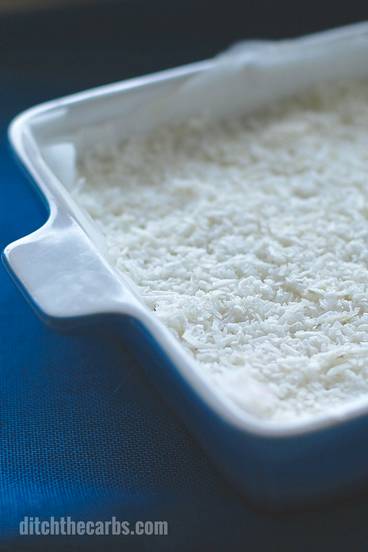
Sugar-Free Coconut Topping
- 200 g desiccated/shredded coconut unsweetened
- 2 tbsp granulated sweetener of choice or more to your taste
- 4 tbsp coconut oil melted (see recipe notes)
Prevent your screen from going dark
I would suggest making the sugar-free chia jam the night before, or at the beginning of this recipe, so it has time to swell and thicken.
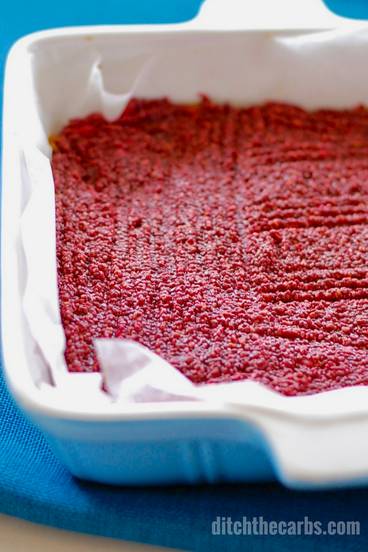
Gluten-Free Pastry Base
-
Mix all the ingredients together. Press into a square baking dish (20x20cm, 8x8inch) that has been lined with baking parchment.
-
Bake at 180C/350F for 10 minutes, or until golden. Remove from the oven and allow to cool completely.
Sugar-Free Chia Jam
-
Place all the ingredients in a bowl and mix well. Allow to set for 20-30 minutes. Chia seems to vary considerably so it may take a little longer to set, or may require an extra tablespoon of chia seeds.
-
Gently spread the sugar-free chia jam over the cooled cooked base. Place in the fridge to set further.
Sugar-Free Coconut Topping
-
Mix the coconut, sweetener and melted coconut oil together in a bowl. NOTE: Depending on how much moisture is in your shredded/desiccated coconut, you may require an extra tablespoon of coconut oil to ensure the coconut layer sets. To test, squeeze a little handful together. It just needs to hold together for a second, it will set hard in the fridge. But if it is completely crumbly, add extra coconut oil which is the binding agent.
-
Spread gently the coconut layer on top of the chia jam layer. Place in the fridge to set completely.
- Store in the fridge for up to 4 days.
- May be frozen as individual squares in an airtight container which has been lined with baking paper.
Serving: 1square (makes 16)Calories: 213kcalCarbohydrates: 7gProtein: 3gFat: 20gFiber: 4gSugar: 1g
More sugar-free baking recipes
Like my other desserts such as no-bake lemon cheesecake and low-carb carrot cake, this healthy low-carb Louise Slice has no added sugar – without having to skimp on taste! Just because a cake is sugar-free doesn’t mean that it takes excitement and taste from it.


